Sometimes you find yourself in a situation where your Micro-controller has plenty of spare IO, very little power & ground connectors, and you want to add a 1Wire DS18B20 device as tidily as possible.
The classic Dallas 1Wire DS18B20 circuit looks like this…

You need to find power, ground and an I/O pin, as well as add a 4.7k resistor between the I/O pin and power…. and what’s the deal with 5V, does it really need 5V? What about the situations where we’ve only got 3.3V readily available? Can it even be run it on 3.3V?
Lets first take a look at the datasheet.
It can be run on as little as 3.0V, so 3.3V should not be a problem.
The datasheet also says it only needs a maximum current of 1.5mA at 5V – That’s 7.5mW of power, so at worst case, we’re talking ~2.3mA at 3.3V.
A good rule of thumb for an output pin on a micro-controller is that it can source 10mA (and sink 20mA), which is well over the 2.3mA we need.
So, is it possible to connect a DS18B20 up to three I/O pins? One to power it, one for ground and one for data? In most cases we’ll still need the 4.7k resistor as the internal pullup resistors (10-20k) will probably be a bit high.
Right, let’s solder it up….
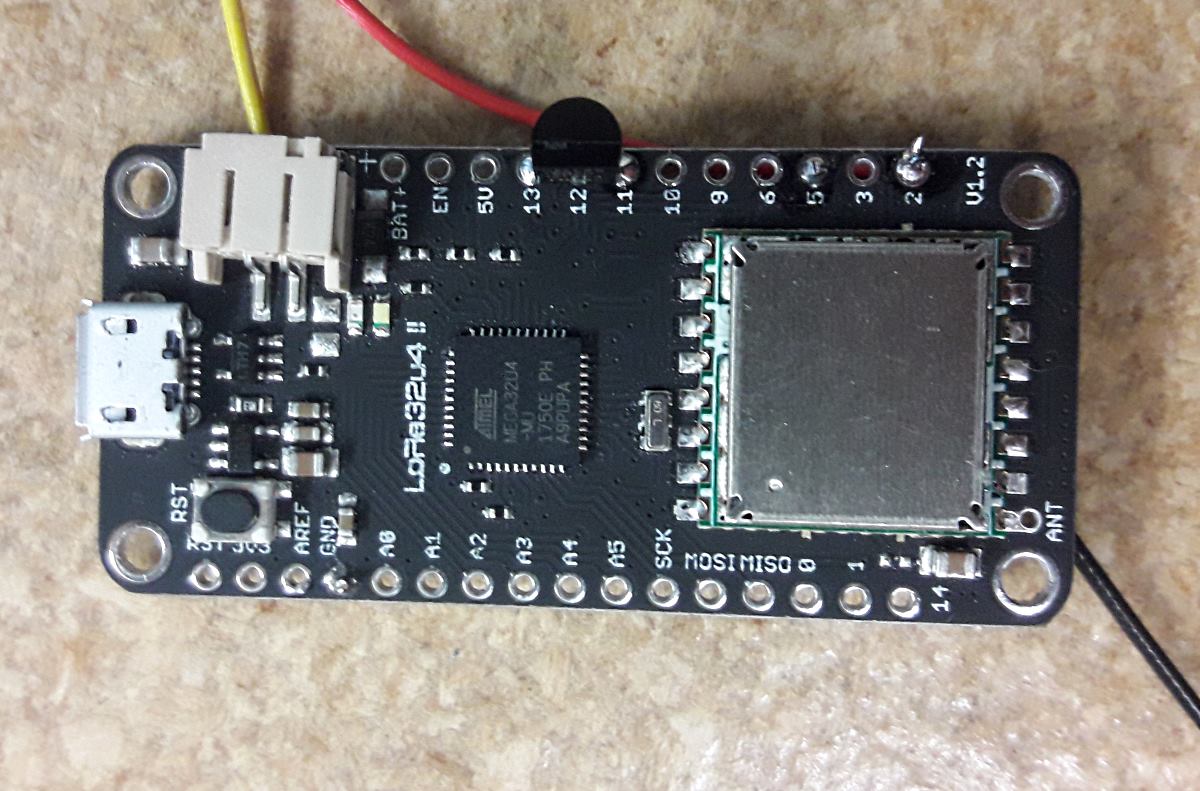
Solder the DS18B20 into three spare IO ports.
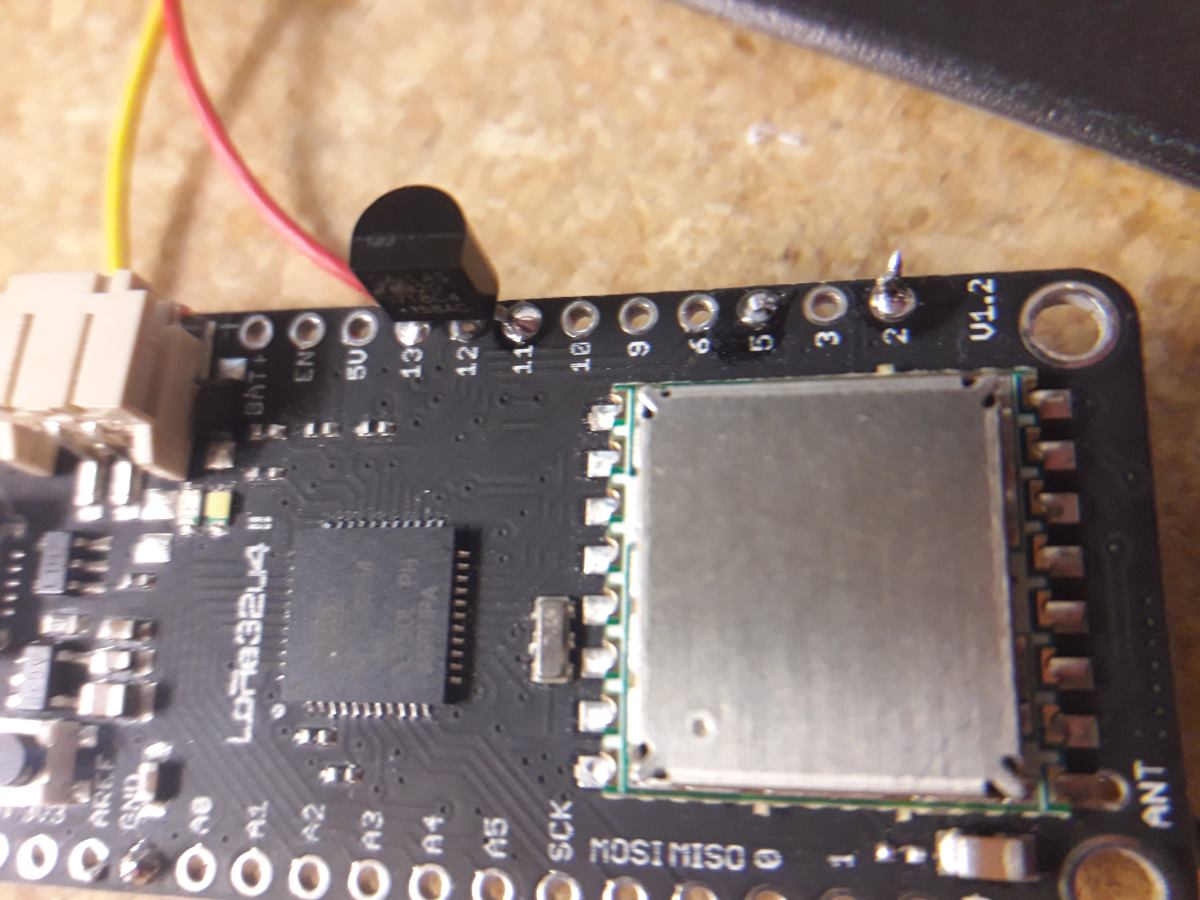
And then solder a 4.7k (or a similar value) resistor between the power and data pins of the sensor.
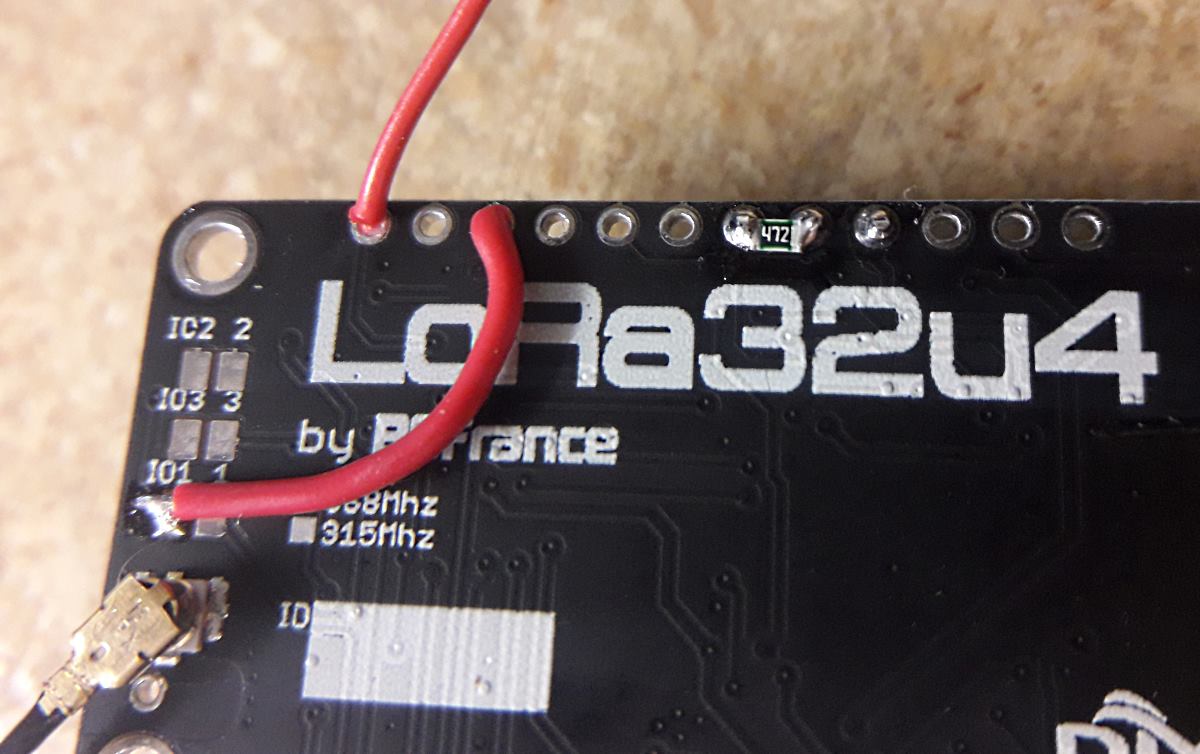
Take note of the three pins you’ve used. In my case, it’s:
- 11: Power
- 12: Data
- 13: Ground
Here’s the sample code:
1 2 3 4 5 6 7 8 9 10 11 12 13 14 15 16 17 18 19 20 21 22 23 24 25 26 27 28 29 30 | #include <OneWire.h> #include <DallasTemperature.h> #define ONE_WIRE_POWER 11 #define ONE_WIRE_BUS 12 #define ONE_WIRE_GROUND 13 OneWire oneWire(ONE_WIRE_BUS); DallasTemperature sensors(&oneWire); void setupOneWire(void) { pinMode(ONE_WIRE_GROUND, OUTPUT); pinMode(ONE_WIRE_POWER, OUTPUT); digitalWrite(ONE_WIRE_GROUND, LOW); digitalWrite(ONE_WIRE_POWER, HIGH); } void setup(void) { setupOneWire(); Serial.begin(9600); sensors.begin(); } void loop(void) { sensors.requestTemperatures(); Serial.print("Temp: "); Serial.print(sensors.getTempCByIndex(0)); Serial.println("°C"); delay(1000); } |
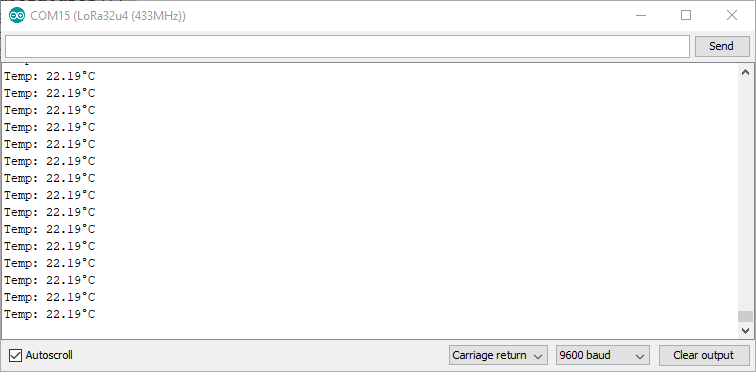
Compile, upload and test via the serial monitor….