Over the christmas period I managed to find the time to start installing the equipment for my Weather station.
I purchased a La Crosse TX20 Anemometer back in July 2011, but it’s been sitting in a box waiting to be installed. I even spent the time to decode the Communications protocol so I could use the data from it in any way I wanted.
I had picked up a six metre length of Stainless steel tubing in mid 2011, so it was definitely time to put it up.
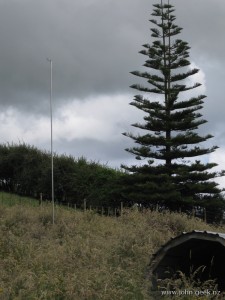
The World Meteorological Organization (WMO) have a very good (detailed and verbose) document titled “Initial Guidance to obtain Representative Observations at Urban Sites” which I referred to (page 19)) to find the optimal location of the Anemometer. Nothing is perfect – The document advises mounting the anemometer at 10m elevation, but I thought 6m was plenty. I’ve also only managed to mount the anemometer at about three times the obstacle height from the nearest obstacle.

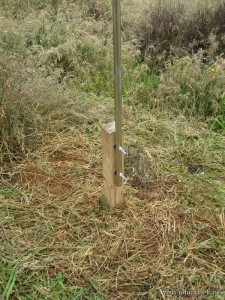
I sunk a 2.4m (8 foot) 100x100mm post 1.8m (6 feet) into the ground to make sure it could handle the wind and bolted the pole onto it. The pole was reinforced where the bolts go through with a very tight fitting piece of wood. This spreads the load around the bolts and stops the pole from crushing when the bolts are done up.

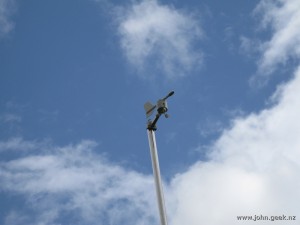
I installed the anemometer, but didn’t wire it up.

I still need to dig the trench for the cabling and ground the pole to protect against lightning strikes.

